How to set up tracking on Ghost Newsletters

Ghost introduced newsletters in Ghost 3.1 using the email service Mailgun.
You can get analytics of your Newsletters with Ghostboard: not only how many emails were sent, delivered, failed, marked as spam but also how many opens, clicks, and unsubscribes.
Additionally, to track opens, clicks, and unsubscribes you need to create a CNAME entry for your domain and activate tracking. Let's see how to set up tracking step by step.
Subdomain constraint 🚨
You should know that tracking with Mailgun requires you to use a subdomain. So if you are already using a subdomain for sending emails, for example, mg.domain.com, the tracking hostname would be tracking.mg.domain.com or similar.
However, this presents a few drawbacks:
- Tracking can be challenging to implement because it's a second-level subdomain, which raises considerations regarding SSL certifications and redirects.
- If you are using Cloudflare (Ghost Pro uses it) you might need to reach out to Cloudflare for assistance in getting it to function correctly. Source: Mailgun Help (Special Note before steps)
Then the simplest setup for tracking with Mailgun would involve using the main domain without subdomains. For instance, domain.com and then employing a first-level subdomain for tracking, such as tracking.domain.com
💡 You choose the domain, could be tracking.domain.com, newsletter.domain.com, or whatever you wish
What you need to start tracking ✨
After you already have a Mailgun account and you are familiar with the basic Mailgun setup in Ghost (region, domain, and key), let's set up tracking.
CNAME record
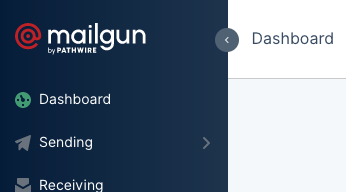
- Login to your Mailgun account
- Click on Dashboard on the left menu, the first option
- Below the chart, you will see your domain list, click on Domain Settings of the domain you use for Ghost Newsletters. In our case, the main domain is without subdomains.

- Note the Tracking Section, click the Edit button of Tracking hostname. Enter the name of the subdomain. Following the example, here is the newsletter and the CNAME will be newsletter.domain.com
- Now go to the top and click on the 2nd tab called DNS records
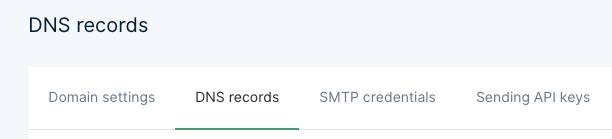
- Scroll down to the bottom for the last section called Tracking records
Here you have all the info you need to create a CNAME record on your domain provider.
- Go to your domain provider and create a DNS record of type CNAME, with the hostname you see (subdomain.domain.com) and the value you can copy on Mailgun. It's mailgun.org for the US region and eu.mailgun.org for the EU region.
💡 You can find good tutorials out there about how to create a CNAME record in <your domain provider>
✅ When you have done it, note it can take a few minutes or hours to be noticed by Mailgun. On the same page of the last screenshot, at the top right corner, you have the button Verify DNS Settings to check if it's ready.
Activate tracking
- You can activate manually the 3 checkboxes on the domain settings > tracking section on Mailgun
- On Ghostboard, anytime click the button Open setup and the options are below.
- You only need to copy the values from your Ghost Admin and paste them. Easy!
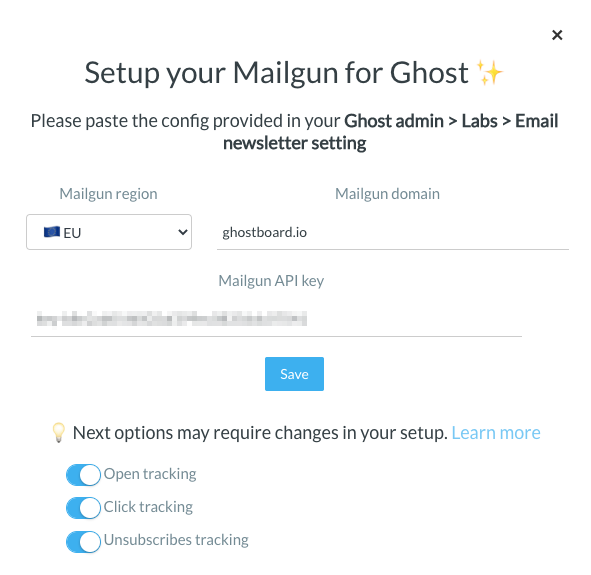
This way Ghostboard activates or disables them for you automatically. From the moment Mailgun starts tracking, Ghostboard will show you the data from the API on your dashboard.
Write your Ghost blog success 🚀
Give a try to Ghostboard without any risk: start now your 14 days free trial without a credit card, check it out by yourself 🙂

Happy to help you and answer any questions, tweet us, or contact us in your dashboard! 👋